Menu Template
What Is Menu Template?
Menu Template helps you create a design for your menus, a timetable for how often this menu will appear and for what duration, a font scheme, and other customizations that make your menus unique. You can add images, change backgrounds, and customize your menus as templates.
Navigate To Menu Template
Click on Master on the main navigation menu.

Find the Menu tab and click on it.
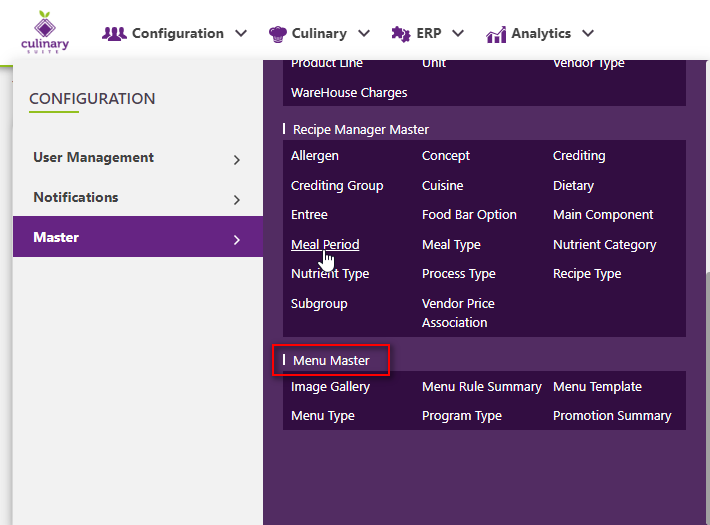
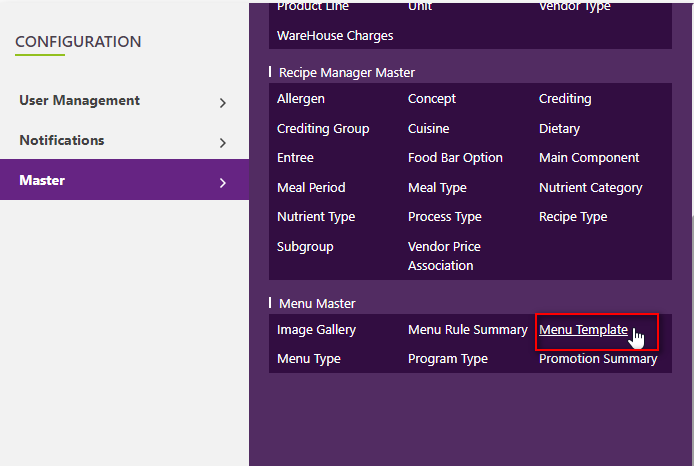
A new screen appears which shows the list of all of the core Menu master tables. Locate the one which says Menu Template and click on it.
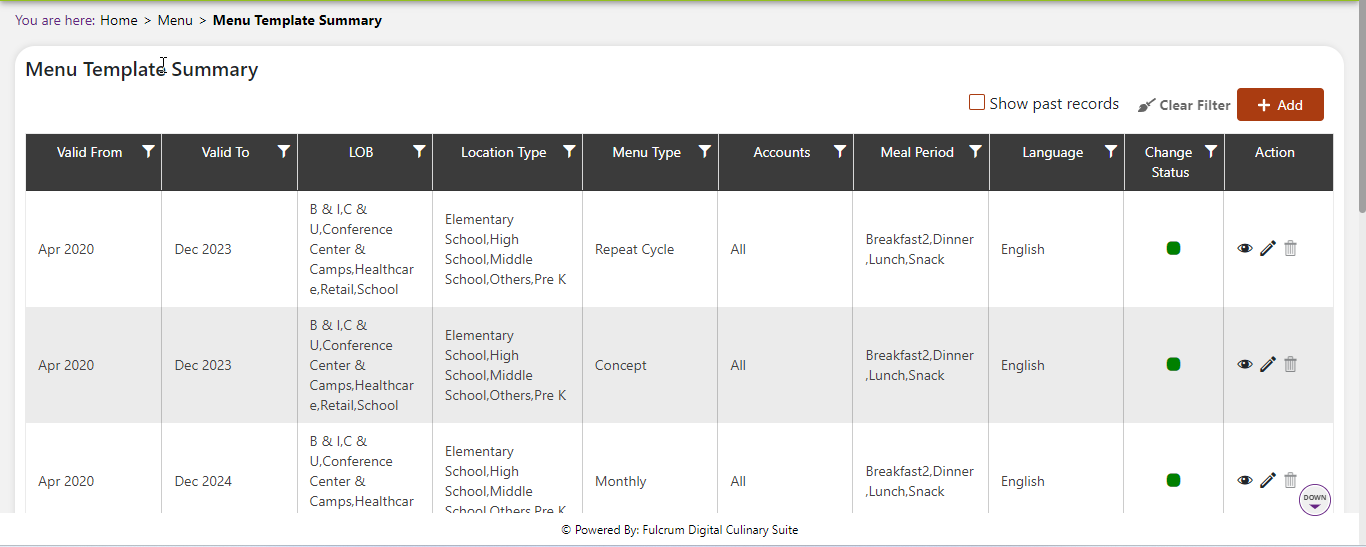
This will open up a screen where you can see all the active and inactive Menu Templates that are available for your company.
Add A new Menu Template
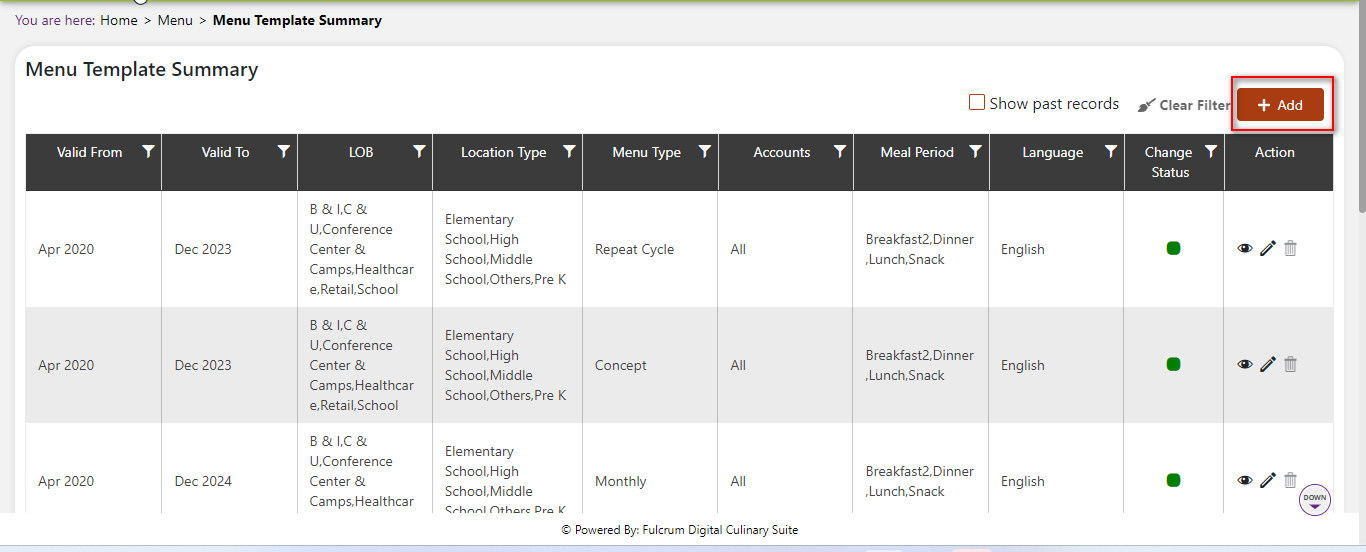
Click the Add button on the top right side of the screen.
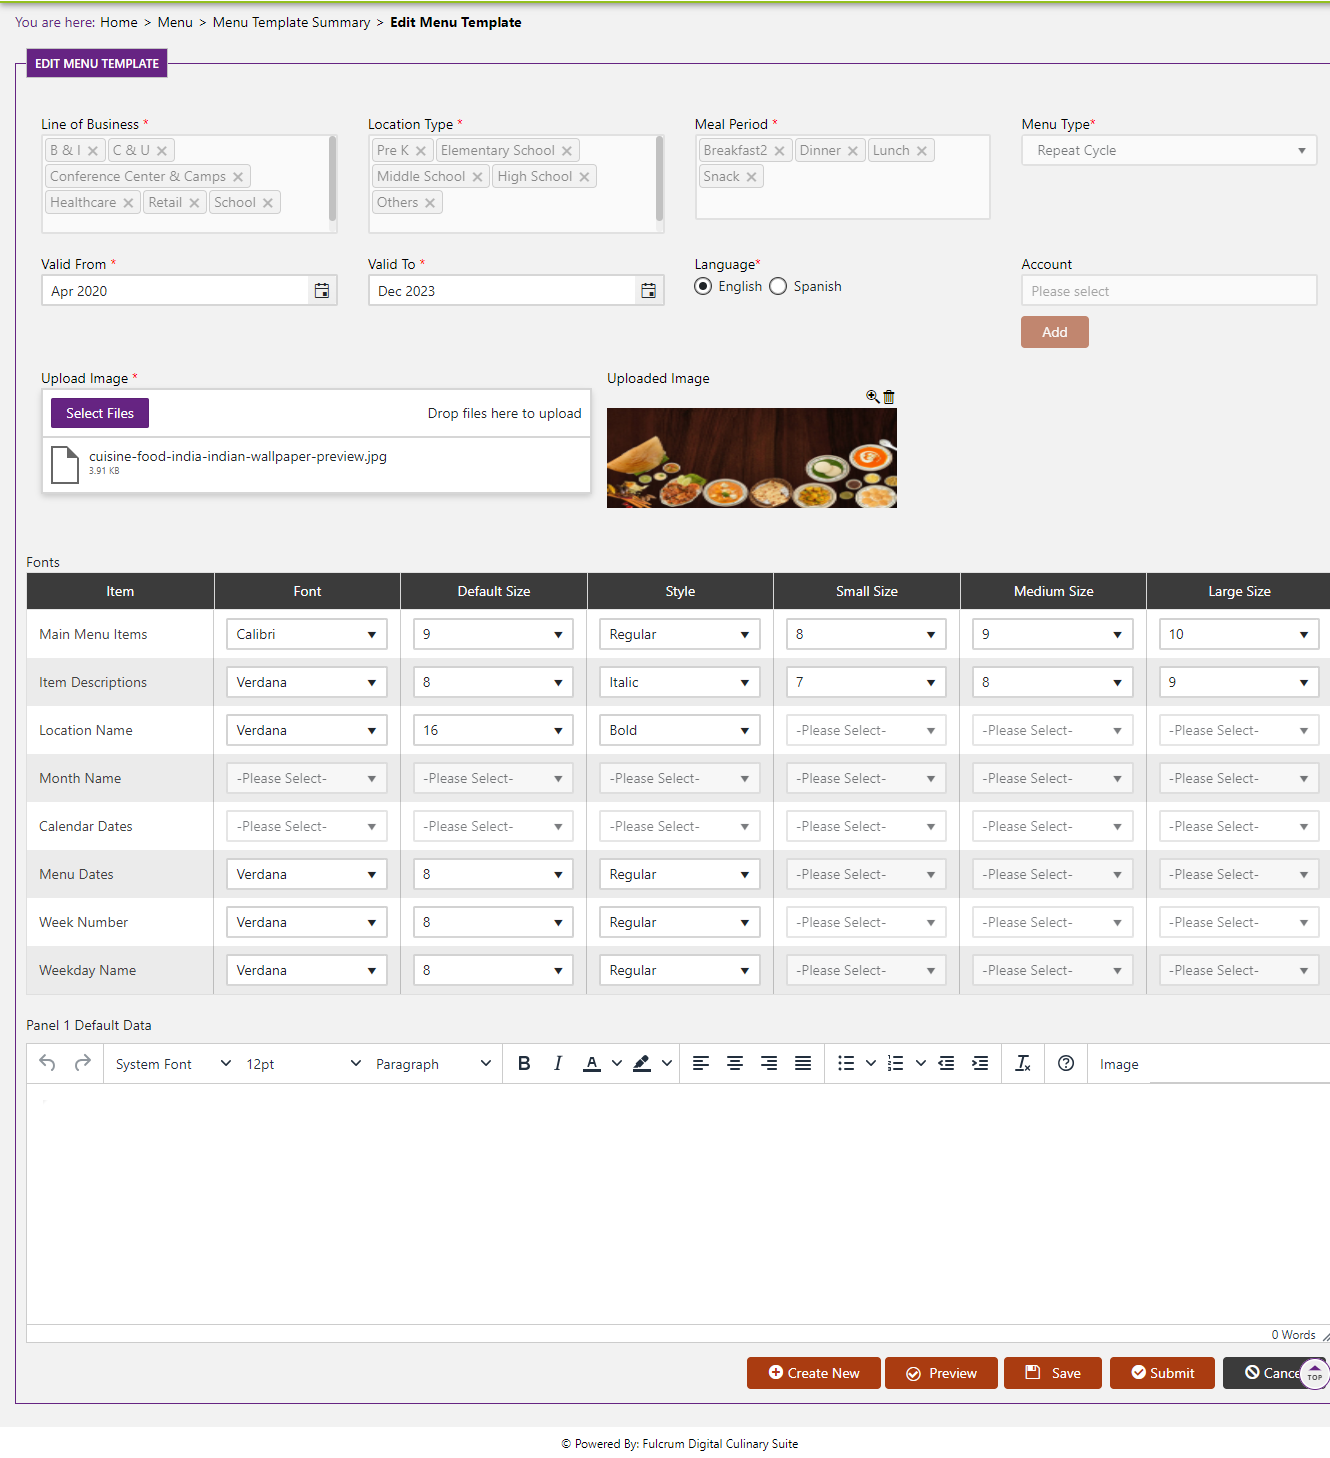
The system will open a popup screen in which you can fill in the following fields (Note: Mandatory fields are indicated by the * next to the name):
- Line of Business*: Click within the textbox to choose from the dropdown list of Line of Businesses.
- Meal Period*: Click within the textbox to choose from the dropdown list of Meal Periods.
- Menu Type*: Click the dropdown arrow in the textbox to choose from the list provided.
- Location Type*: Click within the textbox to add the Location Type.
- Valid From*: Click within the start date text box to enter a long date or click the calendar icon to choose a start date.
- Valid To*: Click within the end date textbox to enter a long date or click the calendar icon to choose an end date.
- Language*: Click the checkbox indicating what language the Menu Template will be in. You must create a separate entry for another language.
- Account: Click the add button to see a list of accounts to associate with this Menu Template. Click the box to the right of the account to add it to this Menu Template.
- Background Image*: Click the upload image button to upload a background image for your Menu.
- Fonts: For each of the items in the first row on the table: “Main Menu Items”, “Item Descriptions”, “Location Name”, “Month Name”, “Calendar Dates”, “Menu Dates”, “Week Number”, and “Weekday Name” please input a Font, Default Size, Style, Small Size, Medium Size, and Large Size to your liking.
- Panel 1 Default Data: Please input any information, picture, message that you want to convey to menu readers. This message will display below the entire menu in the middle of the page.
- Panel 2 Default Data: Please input any information, picture, message that you want to convey to menu readers. This message will display below the entire menu to the right of the page.
- Preview: You can preview how this information will be displayed on a menu by hitting this button and choosing a specific day of the week.
Click the Save button. The Menu Template will be inactive by default.
Modify Or Change Status Of Meny Template
Modify Menu Template
Click on the pencil icon next to the Menu Template that you would like to modify.
You may make changes to the Background Image, Language, Valid From, Valid To, the Text features in the Fonts table, and the Panels regardless of whether the Menu Template is currently referenced throughout the system. However, you may not be able to change the data inputted anywhere else.
Change Status Of Menu template
If you would like to change the status of an existing Menu Template to Active or Inactive, you will first need to look at the “Change Status” column where you will find either a grey or green shaded circle.

Click on the circle to either activate or deactivate the Menu Template. (NOTE: If the Menu Template is already mapped in the system, you cannot deactivate Menu Template until you unmap it everywhere in your system. If this kind of modification is needed you may need to reach out to technical services to discuss the situation and they can direct you further).
You will be presented with a menu where you will be asked if you want to activate or deactivate the specified Menu Template.


Click yes to save your changes.