Contact Type
What is Contact Type?
Contact type creates categories of titles that will be added to your contact at your vendor’s company. This allows you to hold the necessary information so that personnel at your company know who to connect with. These identifiers are important so that you can understand who at your vendor’s company you are connecting with.
Navigate to Contact Type
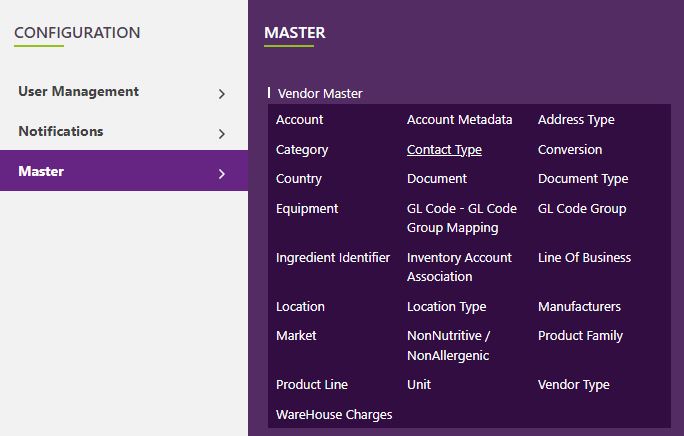
Click on Configuration on the main navigation menu. Locate Master and click on it.

A new screen appears which shows the list of all the core master tables. Locate the one which says contact type and click on it.
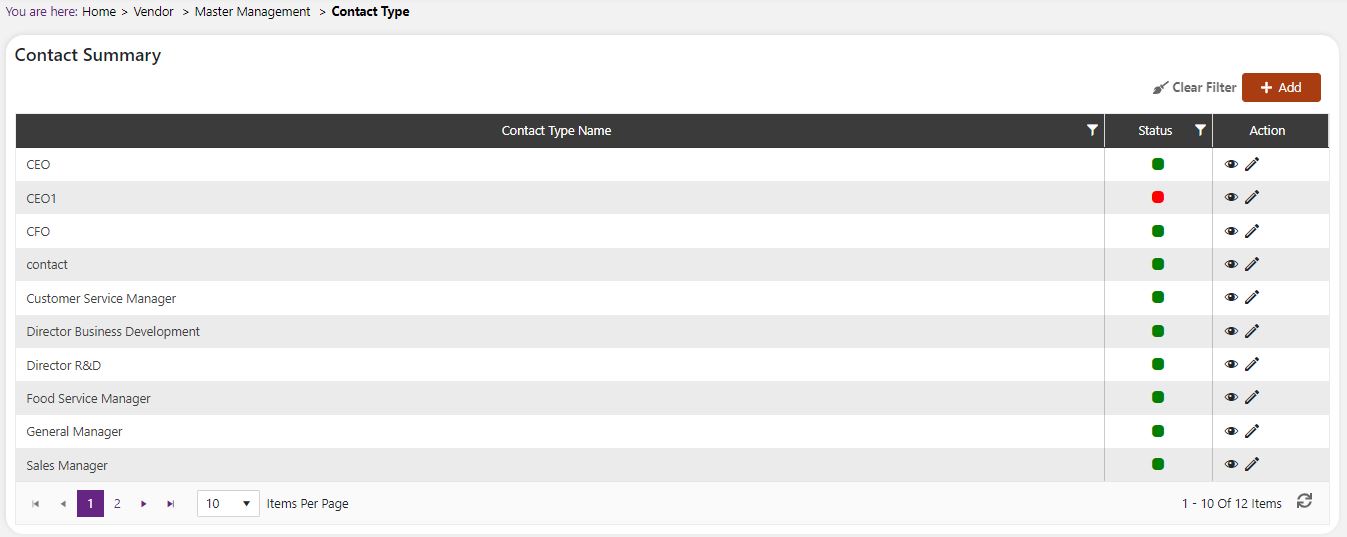
This will open a screen where you can see all of the active and inactive Contact types which are setup for your company.
Add a new Contact Type
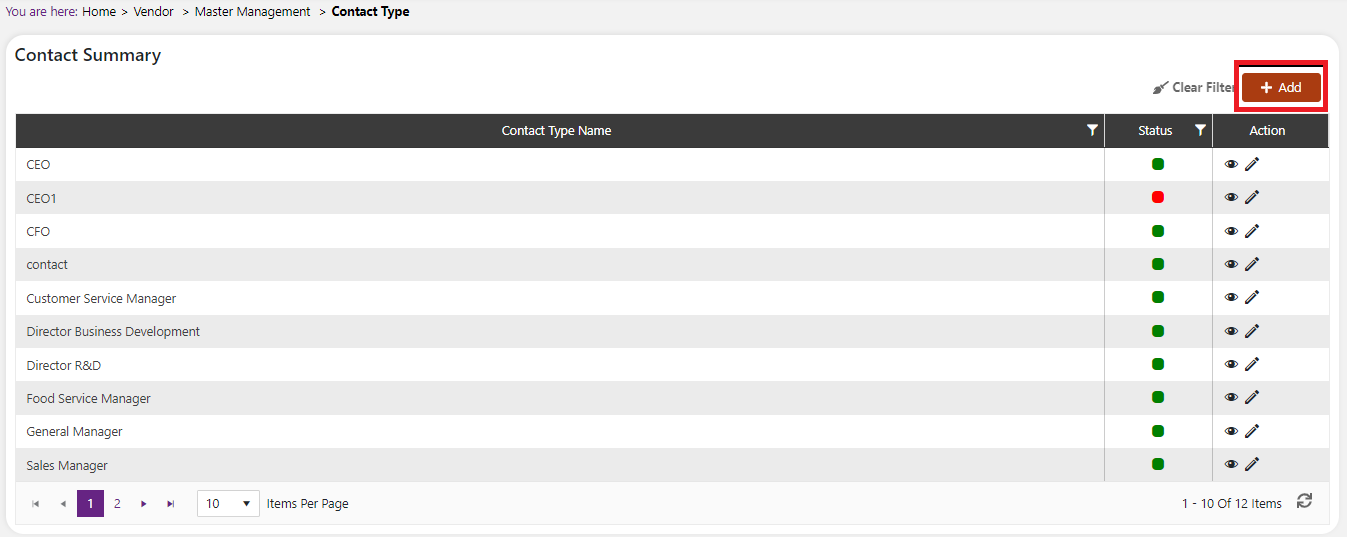
Click the Add button on the top right side of the screen.
The system will open a popup screen in which you can fill in the following fields
NoteMandatory fields are indicated by the * next to the name
- Contact type*: Provide the title of the contact who supplies your company with products from the vendor company.
- Description: Provide a description of the contact type
Click the save button. The contact type will be active by default.
Modify or change status of Contact Type
Modify Contact Type
Click on the pencil icon next to the Contact type that you would like to modify.

You may make changes to the contact type and description regardless of whether the contact type is currently referenced throughout the system.

Change status of Contact Type
If you would like to change the status of an existing contact type to active or inactive, you will first need to look at the “change status” Column where you will find either a grey or green shaded circle.

Click on the circle to either activate or deactivate the contact type.
NoteIf the contact type is already mapped in the system, you cannot deactivate the contact type until you unmap it everywhere in your system. If this kind of modification is needed you may need to reach out to technical services to discuss the situation and they can direct you further
You will be presented with a menu where you will be asked if you want to activate or deactivate the specified contact type.
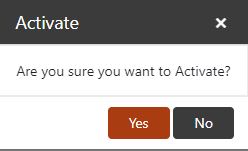
Click yes to save your changes.