LOB
What is LOB?
LOB’s represent the various business segments that your company operates in. Typically, these are split up based on some internal differentiation between how operations are managed and the needs of that particular area of business. Each account is assigned to one specific line of business. You can control whether purchased products and recipes are available to be utilized, purchased, or menued by accounts operating in each LOB. You can also create different portion sizes within recipes for different LOB’s if desired. Pricing can also be different between one LOB and another. LOB is required on the account, product and recipe setup.
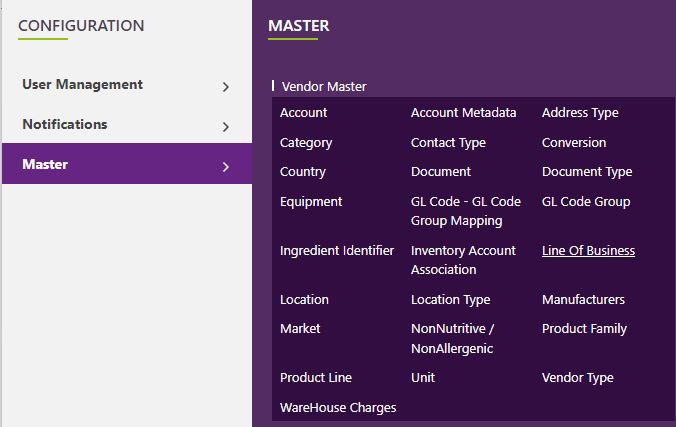
Navigate to LOB MASTER
Click on Master on the main navigation menu.

A new screen appears which shows the list of all the core master tables. Locate the one which says Line Of Business and click on it.
This will open a screen where you can see all of the active and inactive LOBs which are setup for your company.
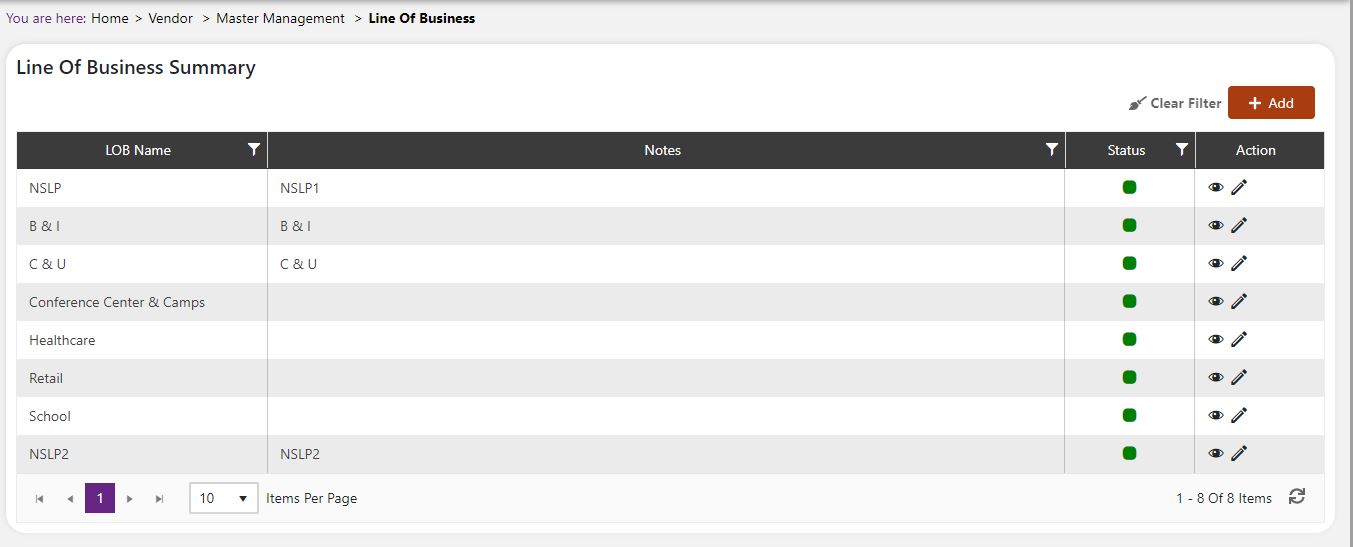
 | Click the funnel icon to and enter text to search for a specific LOB. The filter is active when the funnel icon is displayed in yellow . To clear it, click the Clear Filter button on the top right side of the screen or click the filter next to the column and press the clear button on the popup. You can filter LOB based on the name or on the status. | |
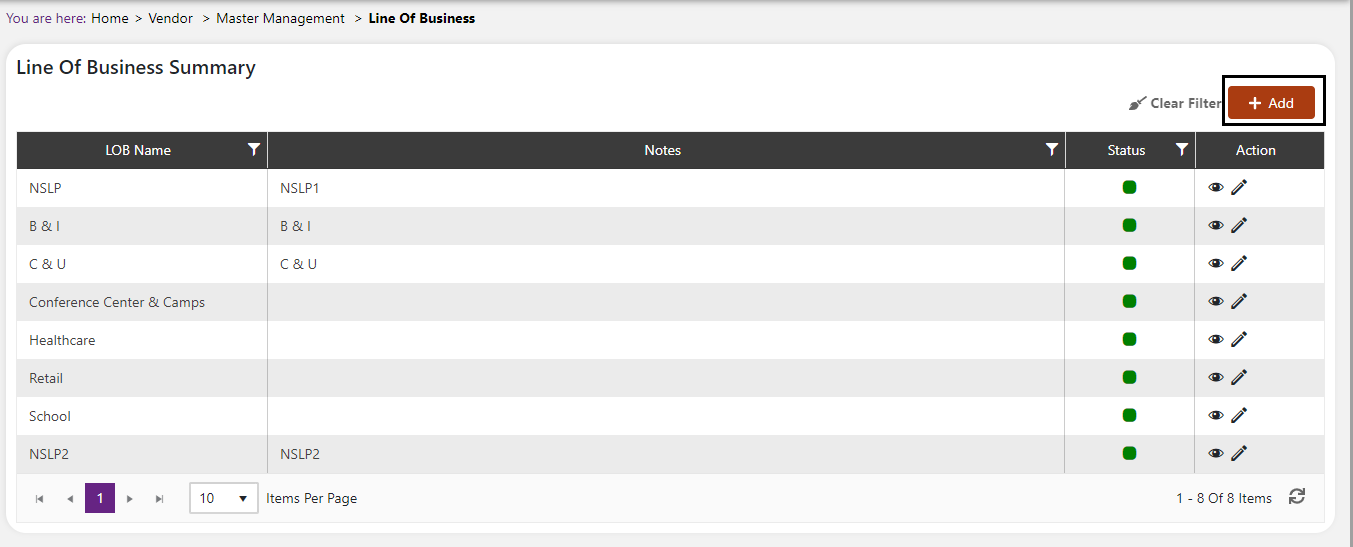
Add a new LOB
- Click the Add button on the top right side of the screen.
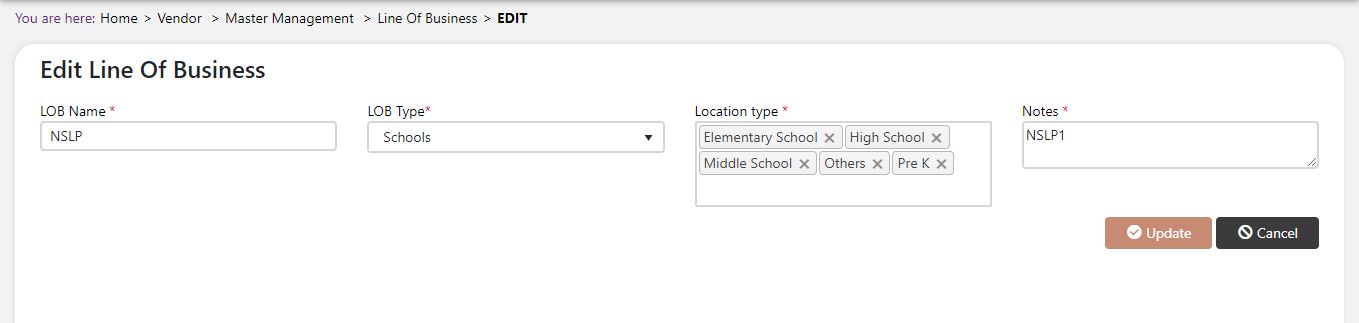
The system will open a popup screen in which you can fill in the following fields
NoteMandatory fields are indicated by the * next to the name
- LOB Name*: Provide the name that you would like for this LOB. This is the name you will see for this LOB throughout the system.
- LOB Type*: Select whether the LOB is a school or non school LOB.
- Location Type*: For Schools you can choose the various types of schools that may be present within that LOB (i.e. Prek, Elementary, Middle and High schools). For Non School related LOBs, simply choose only “Others” as the location type.
- Notes*: Provide some information regarding the specifics of this LOB so that you can refer to it later.
Click the Save button. The LOB will be active by default.
Modify or change status of an existing LOB Modify an existing LOB
Modify an existing LOB
Click on the pencil icon next to the LOB that you would like to modify.

You may make changes to the LOB Name, LOB Type, add Location Types or Notes regardless of whether the LOB is currently in use throughout the system. You will not be able to remove location types from an existing LOB if it is already utilized in products, recipes, accounts or locations throughout the system. If this kind of modification is needed you may need to reach out to technical services to discuss the situation.
Change status of an existing LOB
If you would like to change the status of an existing LOB to Active or Inactive, you will first need to look at the “Change Status” column where you will find either a grey or green shaded circle.

Click on the circle to either activate or deactivate the LOB.
NoteIf the LOB is already mapped in the system, you cannot deactivate the LOB until you unmap it everywhere in your system. If this kind of modification is needed you may need to reach out to technical services to discuss the situation and they can direct you further
You will be presented with a menu where you will be asked if you want to activate or deactivate the specified LOB.
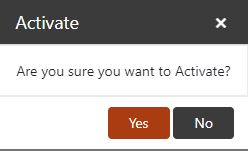

Click yes to save your changes.