Food Bar Option
What is Food Bar Option?
Food bars are made to order entrées. For example, a made-to-order sandwich can be made with any assortment of ingredients that are available, however the output is a sandwich entrée. Essentially these are entrées that can be built from a selection of individual ingredients. Food bars can be assigned directly to products or to recipes. When a user is building a food bar on their menu, they will be able to utilize any of the products or recipes that are associated to the food bar (if they are available to the account).
Navigate to Food Bar Option
Click on Configuration on the main navigation menu. Locate Master and click on it.
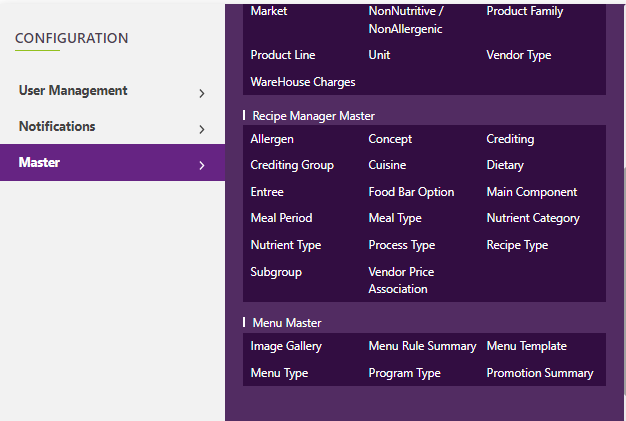
Find the recipe manager tab and click on it.
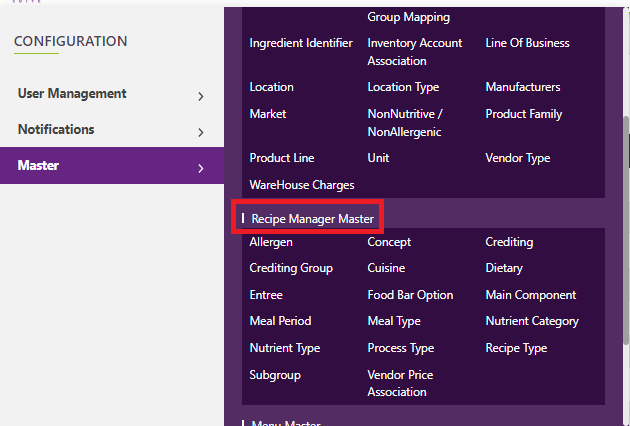
A new screen appears which shows the list of all the core master tables. Locate the one which says Food Bar Option and click on it.
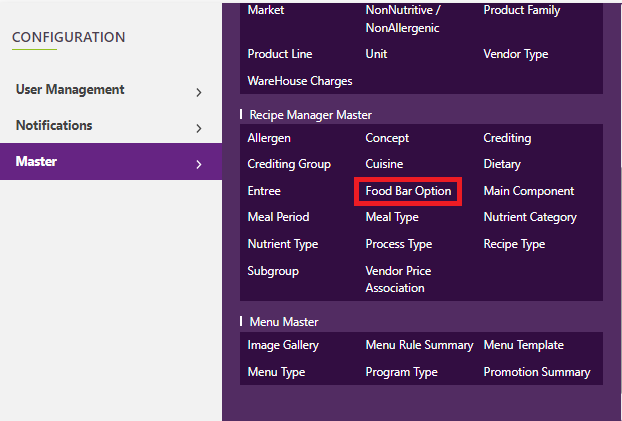
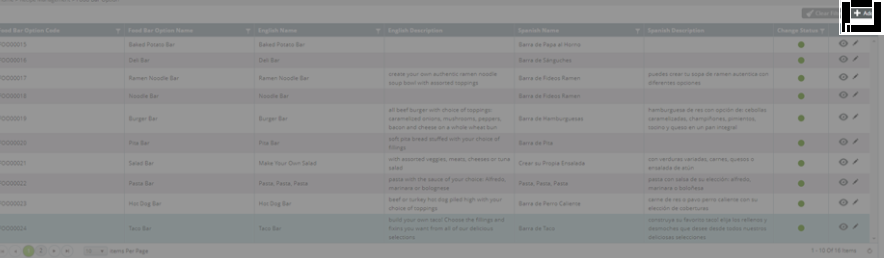
This will open a screen where you can see all of the active and inactive Food Bar Option which are setup for your company.

Add a new Food Bar Option
Click the Add button on the top right side of the screen.
The system will open a popup screen in which you can fill in the following fields
NoteMandatory fields are indicated by the * next to the name
- Food bar code: Unique code for the system to manage each food bar. This is automatically generated by the system and does not need to be filled in.
- Food Bar Option name*: Provide the name that you would like for this food bar. This is the name you will see for this food bar throughout the system.
- English name*: This is the name that will represent the food bar on the menu as well as the meal planner.
- English description*: This is the description of the food bar that will appear on the menu as well as the meal planner. This can be as generic or as detailed as you would like.
- Spanish name*: This is the spanish version of the name that will appear on the food bar on the spanish menu and on the meal planner.
- Spanish description: This serves the same purpose as the english description field but is relevant only the menus displayed in spanish.
Click the save button. The Food Bar Option will be active by default.

 | ✓ Add a new Food Bar Option. Fill in all of the required fields. ✓ Assign it a product that can be menued and to a finished recipe. |
Modify or change status of Food Bar Option
Modify Food Bar Option
Click on the pencil icon next to the Food Bar Option that you would like to modify.

You may make changes to the Food Bar Option name, english name, english description, spanish name, and spanish description regardless of whether the food bar is currently referenced throughout the system.

Change status of Food Bar Option
If you would like to change the status of an existing Food Bar Option to active or inactive, you will first need to look at the “change status” Column where you will find either a grey or green shaded circle.

Click on the circle to either activate or deactivate the Food Bar Option.
NoteIf the Food Bar Option is already mapped in the system, you cannot deactivate the Food Bar Option until you unmap it everywhere in your system. If this kind of modification is needed you may need to reach out to technical services to discuss the situation and they can direct you further
You will be presented with a menu where you will be asked if you want to activate or deactivate the specified Food Bar Option.


Click yes to save your changes.