Dietary
What is Dietary?
Dietary attributes are rules that are based on the value of one or more nutrients or the presence of an allergen in a product or recipe. When ingredients in a recipe are selected or products/recipes are used on a menu, the system will evaluate the ingredients and determine whether they meet the Dietary attributes setup here. You can setup rules based on lob, location type and meal types. You can also display an icon which will show on your menu or meal planner when that attribute is applied.
Navigate to Dietary
Click on Configuration on the main navigation menu. Locate Master and click on it.

Find the recipe manager tab and click on it.
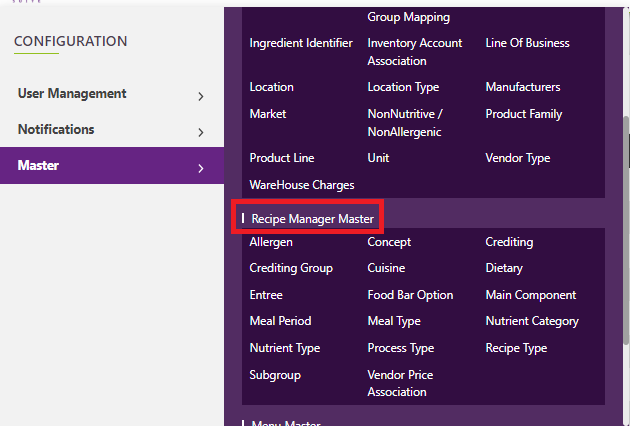
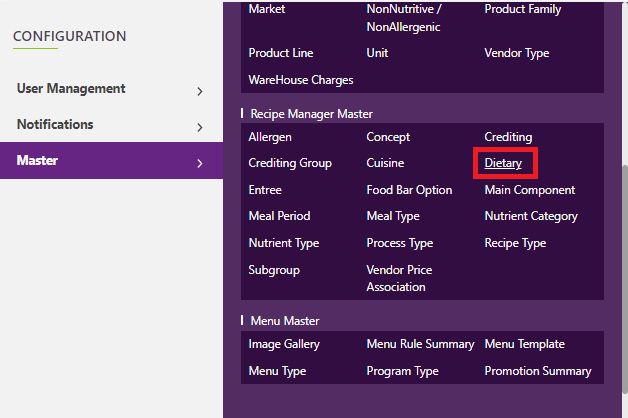
A new screen appears which shows the list of all the core master tables. Locate the one which says Dietary and click on it.
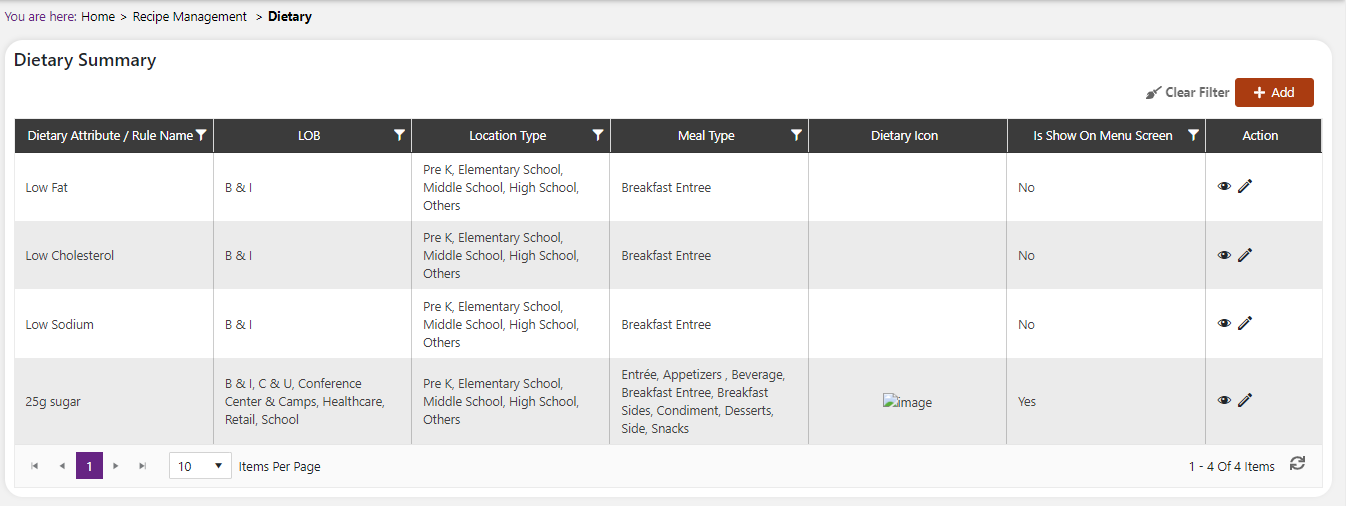
This will open a screen where you can see all of the active and inactive Dietary which are setup for your company.
Add a new Dietary
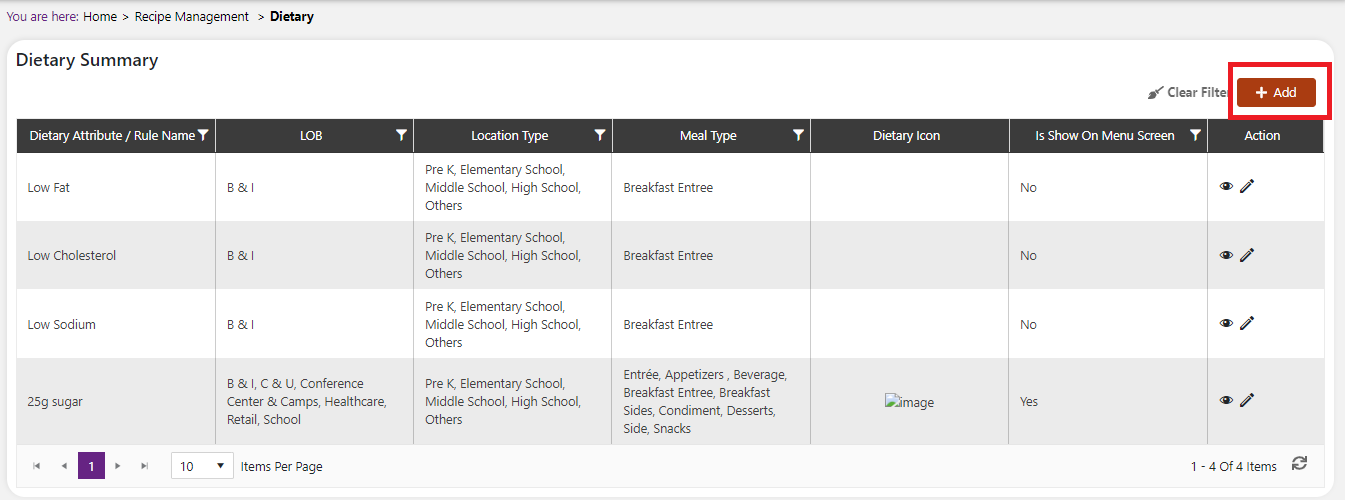
Click the Add button on the top right side of the screen.
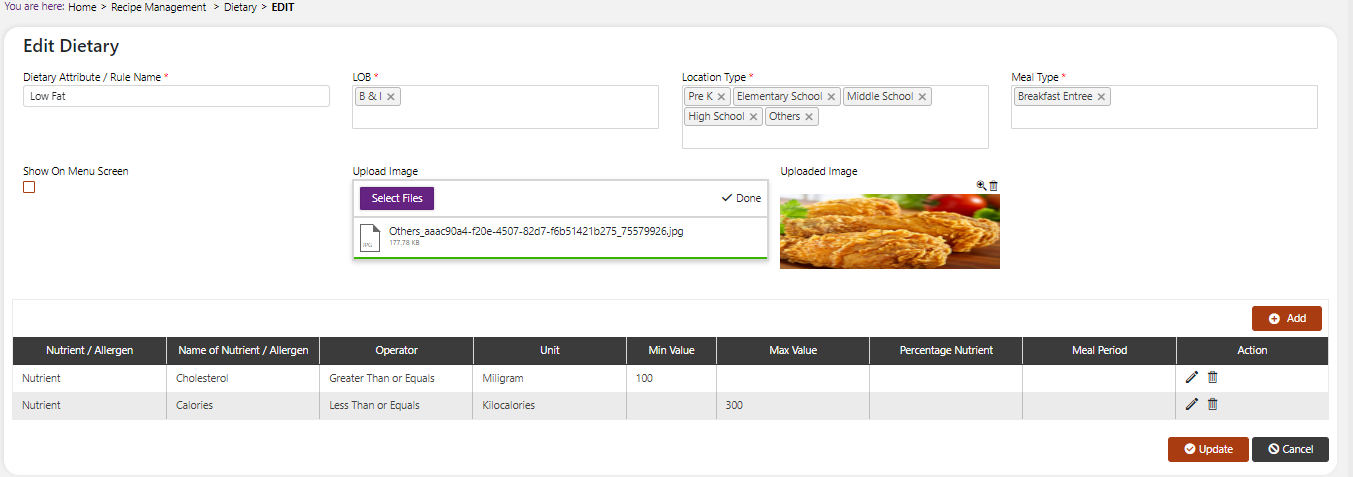
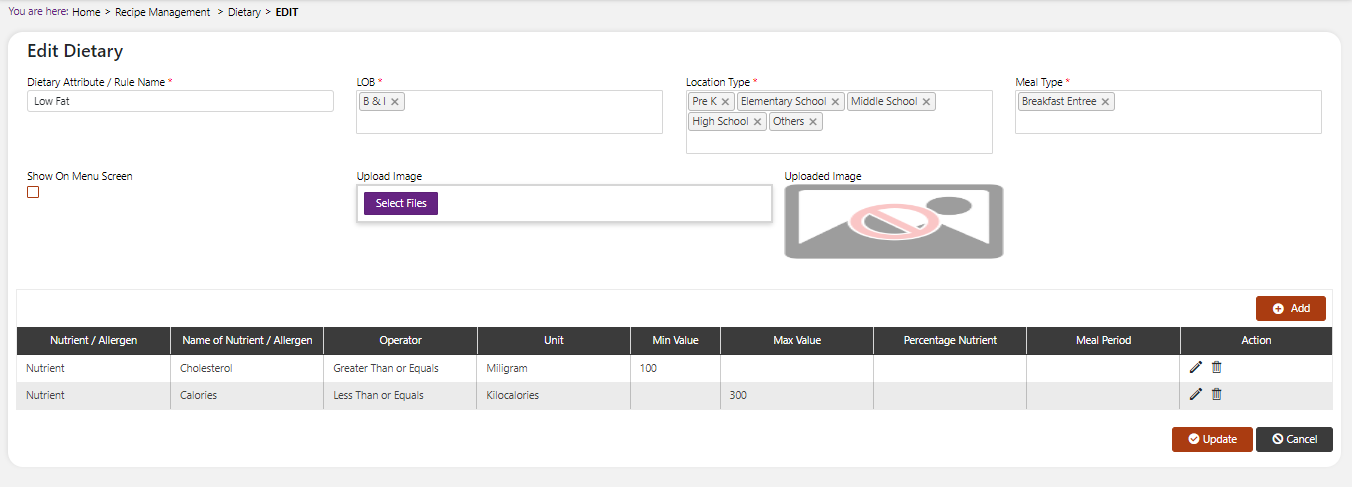
The system will open a popup screen in which you can fill in the following fields
NoteMandatory fields are indicated by the * next to the name
- Dietary attribute /rule name*: Provide the name that you would like for this Dietary attribute. This is the name that will display in the meal planner as well (if setup to display).
- Lob*: Select one or more lob’s that this Dietary rule is applicable to. The same Dietary attributes may have different nutritional requirements depending on which business segment they are available to. For example, a “healthy choice” Option that is available to school children may have different nutritional requirements than a “healthy choice” Option which is available to senior citizens in a nursing home.
- Location type*: Select one or more location types that this Dietary attribute is applicable to. For example, a “healthy choice” Option that is available to elementary school children may have different nutritional requirements than a “healthy choice” Option which is available to students in a high school.
- Meal type*: Select one or more meal types that this Dietary attribute should be applied to. You may want to call out specific attributes on entrée’s but not on sides or condiments. You can choose those meal types here. Keep in mind that choosing a meal type alone will not make this appear on the menu/meal planner. You will need to select the checkbox “is show on menu screen” As well.
- Upload image: Select a small icon image to upload if you wish to display an icon for this attribute on the menu and meal planner. If you do not wish to display an icon on the menu/meal planner, then leave this blank.
- Is show on menu screen: Choose this option if you wish to show the Dietary attribute (and its associated icon) on the menu/meal planner. If you wish to simply keep this informational and not display it publicly, then leave this field unchecked.
Fields in the bottom table of the popup
NoteMandatory fields are indicated by the * next to the name
- Nutrient/allergen*: Choose whether the rule you would like to measure is applicable to a specific nutrient or the presence of an allergen. More examples of Dietary rules are listed below.
- Name of nutrient/allergen*: If you have selected “nutrient” In the prior field then a list of the various nutrients will appear here. If you have selected “allergen” In the previous field then a list of allergens will appear here. Examples of Dietary rules are listed below.
- Operator*: Choose the operator that is relevant to the nutrient or allergen that you have selected. If you are measuring allergens you can choose whether the value is less than, greater than, a percentage of, equal to or between two values for the rule to be met. If you have chosen an allergen then you can choose whether the attribute should contain or not contain that allergen in order to be met.
- Unit: Relevant only if you have selected nutrient as an option. This is automatically selected by the system based on the nutrient that you have chosen.
- Min value: Relevant only if you have selected nutrient as an option and the operator is selected to be a percentage of, greater than or between two values.
- Max value: Relevant only if you have selected nutrient as an option and the operator is selected to be a percentage of, less than or between two values.
- Percentage nutrient: Relevant only if you have selected nutrient as an option and the operator is selected as percentage. You will only need this if the rule is measuring the value of a specific nutrient. For example, if we want a rule to say “the amount of saturated fat can be no more than 10% of the total fat”, we would set up the following:

You can keep clicking the add button to continue to add more rules to the attribute. The system will only flag the item as meeting the attribute if every rule listed in the bottom section is met.
Examples of Dietary rules
“healthy pick” For adults – say you want to have an icon display on the meal planner which tells users which meals you consider to be healthy options for adults in a business cafeteria or residential setting. As an example, you determine that a “healthy pick” For these individuals would be meals that contain at least 15 grams of protein, at least 5 grams of Dietary fiber, less than 700mg of sodium, less than 700 calories and no more than 10% of total fat from saturated fats.
- Lob: In this case, we have chosen that this attribute will only be applicable to menus used for accounts in the b&i and residential lob.
- Location type: Since location types are only applicable to schools, we can simply choose the location type as “others”.
- Meal types: In this example, we are selecting only dinner and lunch entrées since we want to have different standards for breakfast and other meal types.
- Upload image: We have selected an image to display next to menu items that meet this rule on the meal planner.
- Rule 1: “saturated fat is no more than 10% of total fat”. Because saturated fat is a nutrient, we have selected “nutrient” From the nutrient allergen dropdown. We have selected saturated fat as the nutrient we are measuring in the “name of nutrient/allergen” Dropdown. We have selected the operator as “percentage” Because we want the attribute to be applicable only when saturated fat is less than a certain percentage. The unit of “gram” Is selected by the system because that is the unit which saturated fat is measured in. We have entered the max value of 10 because we want to ensure that this meal has 10% or less. We have chosen “fat” As the percentage nutrient because we want the saturated fat to be no more than 10% of the value of the total fat.
- Rule 2: “protein must be at least 15 grams”. Because protein is a nutrient, we have selected “nutrient” From the nutrient allergen dropdown. We have selected protein as the nutrient we are measuring in the “name of nutrient/allergen” Dropdown. We have selected the operator as “greater than or equal to” Because we want the attribute to be applicable only when protein is at least a certain amount. The unit of “gram” Is selected by the system because that is the unit which protein is measured in. We have entered the minimum value of 15 because we want to ensure that this meal has at least 15 grams or more of protein.
- Rule 3: “Dietary fiber must be at least 5 grams”. Because Dietary fiber is a nutrient, we have selected “nutrient” From the nutrient allergen dropdown. We have selected Dietary fiber as the nutrient we are measuring in the “name of nutrient/allergen” Dropdown. We have selected the operator as “greater than or equal to” Because we want the attribute to be applicable only when fiber is at least a certain amount. The unit of “gram” Is selected by the system because that is the unit which Dietary fiber is measured. We have entered the minimum value of 5 because we want to ensure that this meal has 5 grams or more of fiber.
- Rule 4: “700mg or less of sodium”. Because sodium is a nutrient, we have selected “nutrient” From the nutrient allergen dropdown. We have selected sodium as the nutrient we are measuring in the “name of nutrient/allergen” Dropdown. We have selected the operator as “less than or equal to” Because we want the attribute to be applicable only when sodium is a certain amount or less. The unit of “miligram” Is selected by the system because that is the unit which sodium is measured. We have entered the maximum value of 700 because we want to ensure that this meal has no more than 700mg of sodium.
- Rule 5: “700 or less of calories”. Because calories is a nutrient, we have selected “nutrient” From the nutrient allergen dropdown. We have selected calories as the nutrient we are measuring in the “name of nutrient/allergen” Dropdown. We have selected the operator as “less than or equal to” Because we want the attribute to be applicable only when calories is a certain amount or less. The unit of “kilocalories” Is selected by the system because that is the unit which calories is measured. We have entered the maximum value of 700 because we want to ensure that this meal has no more than 700kcal of calories.
- Now the system will monitor the lunch and dinner entrées which are used on the menus for b&i and residence accounts. If it finds one that meets the above rules, it will display the attribute “healthy pick” And the icon which we have associated to this rule.
 | ✓ Set up a “healthy choice” Attribute for a different lob using a combination of nutrients. |
Nut free - say you want to have an icon display on the meal planner which tells users which menu items are nut free. As an example, you determine that this means the allergens peanut and tree nut are not present in the item.
- Lob: In this case, we have chosen that this attribute will only be applicable to menus used for accounts in school, b&i or residential line of business.
- Location type: We have chosen that this attribute should appear on the menu/meal planner for all grade levels of schools (prek – high school as well as on the residential & b&i locations (others).
- Meal types: In this example, we want attribute to appear for entrées in all meal periods as well as sides. So we have selected breakfast, lunch, dinner entrée and sides.
- Upload image: We have selected an image to display next to menu items that meet this rule on the meal planner.
- Rule 1: “does not contain treenuts”. Because treenut is an allergen, we have selected “allergen” From the nutrient/allergen dropdown. We have selected “treenut” As the nutrient we are measuring in the “name of nutrient/allergen” Dropdown. We have selected the operator as “does not contain” Because we are looking for items that specifically do not contain this allergen.
- Rule 2: “does not contain peanut”. Because peanut is an allergen, we have selected “allergen” From the nutrient/allergen dropdown. We have selected “peanut” As the nutrient we are measuring in the “name of nutrient/allergen” Dropdown. We have selected the operator as “does not contain” Because we are looking for items that specifically do not contain this allergen. Now the system will monitor the breakfast, lunch, dinner entrées and sides which are used on the menus for school, b&i and residence accounts. If it finds one that meets the above rules (ie. Does not contain ingredients with an allergen of peanut and treenut), it will display the attribute “nut free” And the icon which we have associated to this rule.
| ✓ Set up an allergen attribute for a different lob using a combination of allergens. |
Modify a Dietary entry
Click on the pencil icon next to the Dietary that you would like to modify.

You may make changes to any field (except for the actual name of the rule) at any time. The Dietary attribute is calculated dynamically for the recipe or menu based on the ingredients that are used, therefore this is not assigned to any item.
To prevent this item from being shown on the meal planner, simply uncheck the “show on menu screen”.
The system will not allow you to delete an existing Dietary attribute. Although you can change them at anytime. If this kind of modification is needed you may need to reach out to technical services to discuss the situation and they can direct you further.
