Add Image
Graphic images should be used as much as possible. There are hundreds to pick from! Scale the images correctly. Modify as needed to make the best presentation.
On the Menu screen, click the Image button (left side). A popup screen will appear.

Click on an image displayed or search for image on the drop down menu. You can also search for images by typing into the text box and clicking Search.
Select the image. Drag and drop it on the desired location on the Menu Grid.
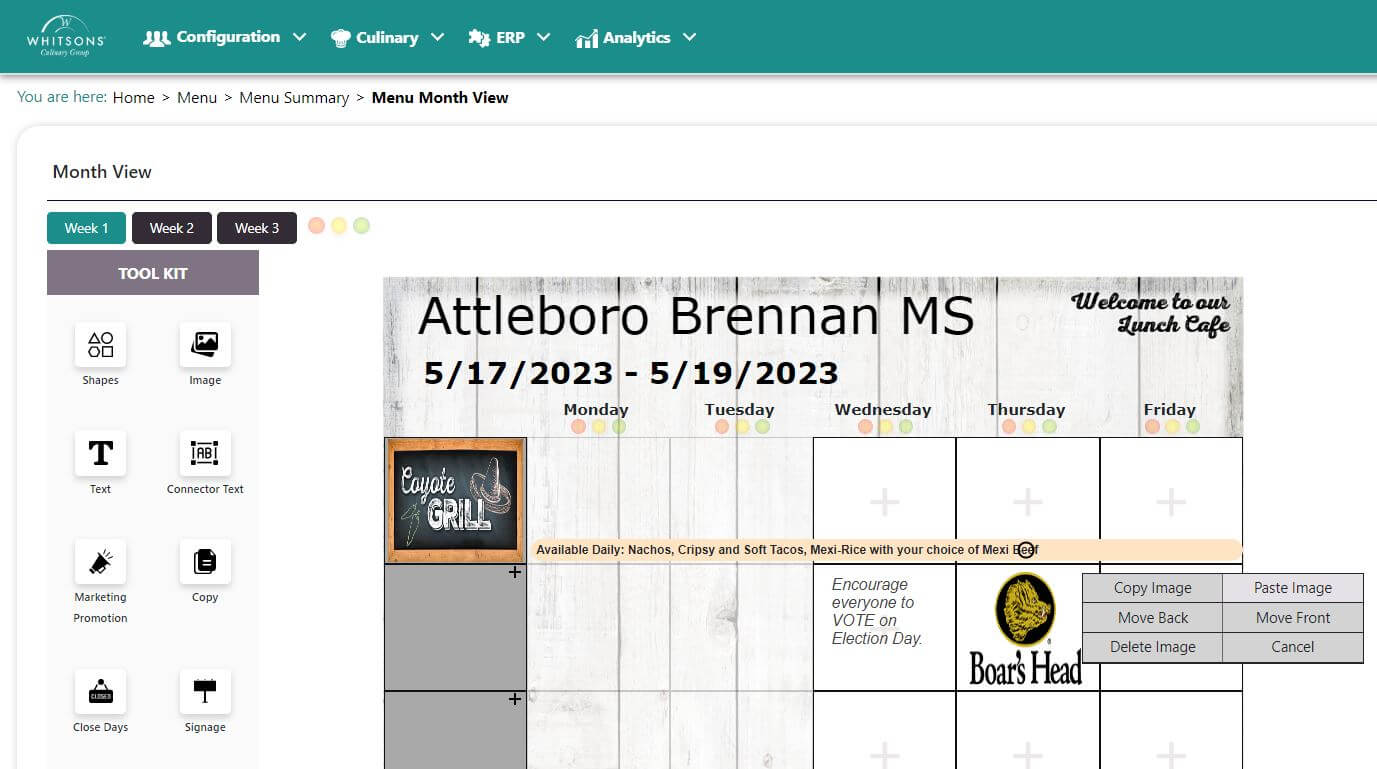
Click on the image and a side menu will appear with options to Crop, Copy, Paste, Save, Delete or Cancel. You will also a see a yellow square/circle (depends on the browser) on the top of the image.
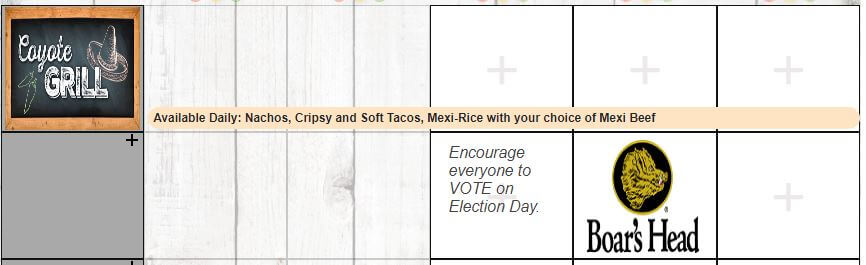
Move your mouse to the bottom right corner of the image. You will see your mouse point changing to a slanting arrow with arrow head on both sides. If you move your mouse to the bottom of the image, you will see a vertical arrow and if you point to the right side of the image, you will see a horizontal arrow.
You can use any of these 3 options to crunch/expand the image. For example, I minimized it to make the Flaves image thinner and smaller.

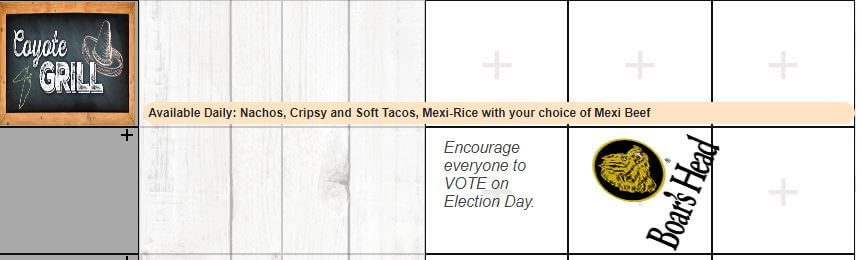
Click on the yellow square/circle, hold your mouse, click and make a clockwise or counter clockwise movement to change the direction of the image. For example, it can be tilted to a 45 degree angle.
Save the image.
A concept menu will have the option of "copy to future weeks."
NoteThe image can be deleted by double clicking on it, and clicking the "delete image" button