Vendor Master Summary
What Is Vendor Master Summary?
Vendor Master Summary gives you all the available information about a vendor’s location, address, person to contact, equipment shipping installation dates, vendor portal login information, and discount information that is important for your business to track. Keeping this information up to date will help you with supply chain management and will keep your vendors organized across all of your LOBs. Vendor Master Summary is an important place to link accounts with vendors and keep track of vendor information all in one place.
Navigate To Vendor Master Summary
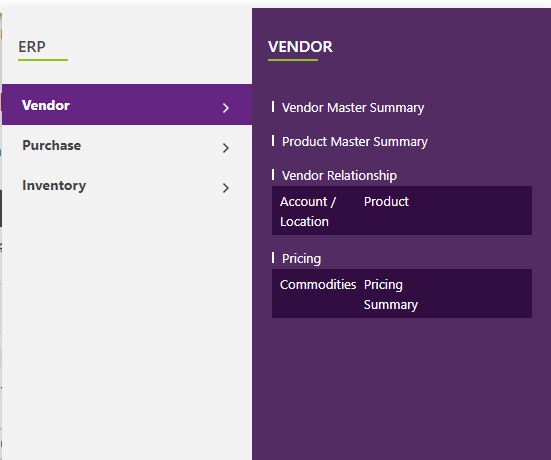
Click on ERP on the main navigation menu and hover on Vendor.
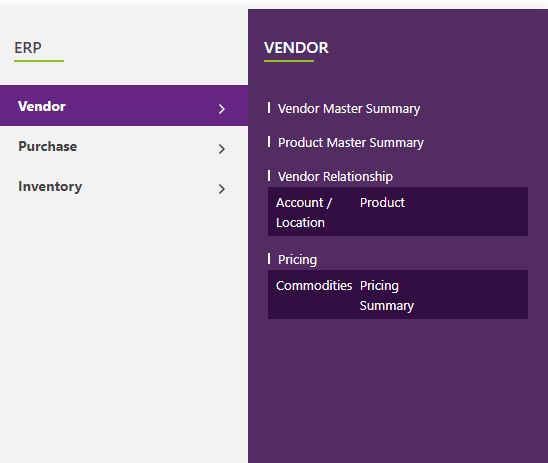
A new screen appears which shows the list of all of the core vendor modules. Locate the one which says Vendor Master Summary and click on it.
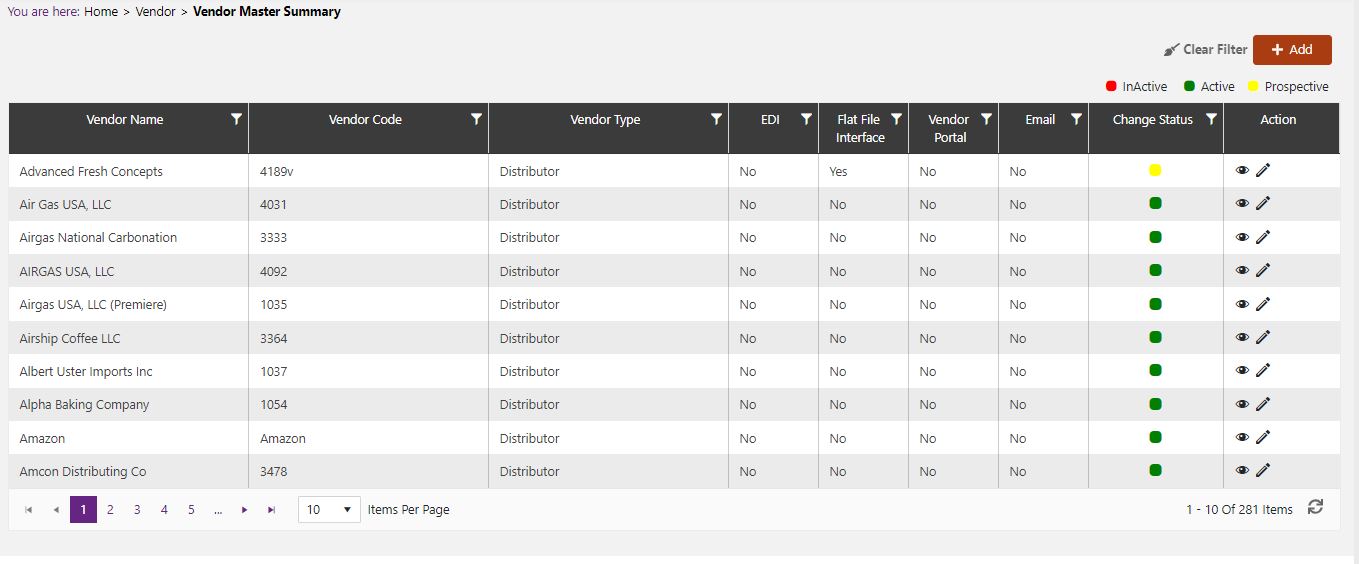
This will open up a screen where you can see all the active and inactive Vendors that are available for your company.
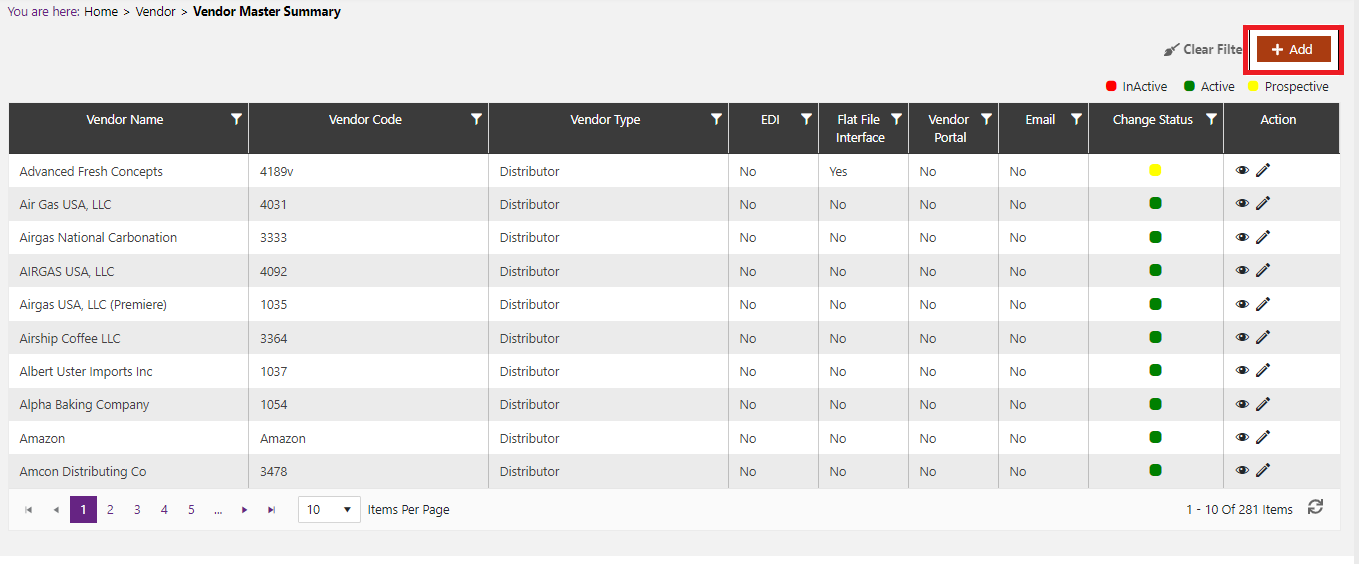
Add New Vendor
Click the Add button on the top right side of the screen
The system will open a popup screen in which you can fill in the following fields (Note: Mandatory fields are indicated by the * next to the name):
- Primary
- Vendor Name: Provide the company name of the vendor which you want to add.
- Vendor Type: Click on the dropdown arrow to choose from the Vendor Types listed.
- Allow PBI: Click the box if this vendor is a Purchase by Invoice.
- Orders- Minimum Dollars: Click within the textbox to write in a number or click the up or down arrows to increase or decrease the value. This is the minimum cost of whatever you are buying from this vendor.
- Enforce: Click this box to enforce this as a strict price.
- Vendor Portal: Enter the URL for the portal used to purchase your supplies from this vendor.
- Participators in Emergency Services: Click the dropdown arrow to see “Yes” or “No” to indicate whether this vendor is a participant in Emergency Services to you.
- Product Lines: Click within the textbox to see a dropdown list of Product Lines. Choose from the list provided to indicate what types of products this vendor will support. You can choose more than one Product Line by clicking within the box again and choosing another Product Line.
- Family-Owned Business: Click the dropdown arrow to see “Yes” or “No” to indicate whether this vendor is a Family-Owned Business.
- Delivery Territory: Provide the territory for which this vendor operates.
- Multiple Vendor Code
- Vendor Code: Depending upon wherever a vendor has different op-cos, you will put in the op-co # here. Click on the number in each account under the “Vendor Code” column to edit that specific vendor’s code.
- Address
- Add: Click to add a new Address to this Vendor. You can add new addresses for billing information, corporate offices, etc. This will open up a new menu for you to input fields.
- Address Type: Click the dropdown arrow to choose from the list of Address Types provided.
- Country: Click the dropdown arrow to choose the country for this address.
- State: Click the dropdown arrow to choose the state for this address.
- City: Click the dropdown arrow to choose the city for this address.
- Address 1: Provide the address for this location.
- Address 2 & 3: Provide the address if there are alternate addresses.
- Zip Code: Provide the zip code for this address.
- Phone: Provide the phone number for this address.
- Fax: Provide the fax number for this address.
- Add: Click to add a new Address to this Vendor. You can add new addresses for billing information, corporate offices, etc. This will open up a new menu for you to input fields.
- Contacts
- Add: Click to add a new Contact to this Vendor. You can add new contacts for different people at the vendor’s organization. This will open up a new menu for you to input fields.
- Contact Type: Click the dropdown arrow to choose from the list of Contact Types provided.
- Title: Click the dropdown to choose their title.
- First Name: Provide the vendor contact’s first name.
- Middle Name: Provide the vendor contact’s middle name.
- Last Name: Provide the vendor contact’s last name.
- Cell: Provide their cell phone number.
- Birthday: Provide their birthday.
- Address: Click the dropdown arrow to choose from the addresses available.
- Email: Add their email address.
- Web URL: Add a URL to either contact them or if they have a personal URL.
- Uses Vendor Portal: Click the box if the contact’s company makes you use a vendor portal to order items.
- ontact ID: This is an automatically generated number by the system.
- Function: Click the dropdown arrow to choose this contact’s function in the workplace.
- Personal Home Phone: Provide their personal home phone if you have it.
- Personal Cell Phone: Provide their personal cell phone if you have it.
- Phone Number: Provide their phone number if you have it.
- Emergency Phone: Provide their emergency phone if you have it.
- Fax: Provide their fax number.
- Twitter ID: Provide their twitter handle in a URL format.
- Reporting Manger: Provide their reporting manager.
- Add: Click to add a new Contact to this Vendor. You can add new contacts for different people at the vendor’s organization. This will open up a new menu for you to input fields.
- Financials
- Payment Term Days: Click within the textbox to either add a number or click the up or down arrow to increase or decrease the payment term that you and your vendor agreed on.
- Register No.: Provide the registration number for this vendor.
- Tax ID: Provide the tax ID number.
- 1099 Type: Click the dropdown arrow to see a list of options and choose from the list provided.
- Purchase Price Based On: Click the dropdown arrow to see a list of options and choose from the list provided.
- Click the “Add” button below the “Special Payment Terms” section to add a Special Payment. This will open up a popup menu.
- Days: Provide the number of days for the special payment
- Discount: Provide the discounted amount. This can either be a number to indicate the dollar amount or percentage amount of the discount.
- Type: To clarify the Discount amount, click from the dropdown menu to choose either the dollar ($) symbol or the percentage (%) symbol of the discount.
- Click the “Add” button below the “Additional Discounts/ Charges” section to create additional discounts or charges. This will open up a popup menu.
- Description: Click the dropdown arrow to choose from the list of descriptions provided.
- Code: This automatically pulls the code based on the description provided in the earlier step.
- GL Code: This automatically pulls the code based on the description provided in the earlier step.
- Type: Choose a percent symbol or a dollar symbol.
- Expiry Date: Choose the date this discount or charge expires by either entering a long date or clicking the calendar icon and choosing from there.
- Is Applied to Invoices: Click the box if this discount or charge is applied to the invoices.
- Click the “Add” button below the “Additional Discounts/ Charges” section to create additional discounts or charges. This will open up a popup menu.
- Market: Click the dropdown arrow to choose from the markets provided.
- Discount/ Penalty: Click in the textbox to add a number or click the up or down arrows to increase or decrease the amount.
- Discount/ Penalty Type: Click the dropdown arrow to choose whether this is a discount or a penalty.
- Type: Choose a percent symbol or a dollar symbol.
- From Amount: Provide the previous amount that the price was before the discount or penalty.
- To Amount: Provide the amount that the price becomes after the discount or penalty.
- Sub Vendors
- Click add to add a sub vendor. This will open up a popup menu.
- Vendor Name: Click the dropdown arrow to choose from the vendor list provided.
- Click add to add a sub vendor. This will open up a popup menu.
- Vendor Assets
- Click add to add assets that your vendor will either come to install or big equipment items that are coming to a location. This will open up a popup menu.
- Equipment Type: Click the dropdown arrow to choose from the equipment types provided.
- Account: Choose the account that this asset will go to.
- Model: Add the model of this equipment here.
- Status: Choose from the dropdown list what condition this equipment is in.
- Quantity: Click in the textbox to add a number or click the up or down arrows to increase or decrease the amount.
- Location: Select a location based on the account chosen.
- Asset Number: Provide the asset number of the piece of equipment here.
- Installation Date: Provide a date for installation in a long date format or click the calendar icon to choose a date.
- Specification File Name: Click the upload file button to upload supporting documents for specification.
- Description: Add a description of the asset here.
- Click add to add assets that your vendor will either come to install or big equipment items that are coming to a location. This will open up a popup menu.
- Free Deals
- Click add to add any free deals that your vendor offers. This will open up a popup menu.
- Type: Click the dropdown arrow to choose from the types provided. Based on the type provided you will see a new field generated next to the Type called“Product Name” or “Category Name” or “Product Line Name”. Here, you can choose from the list provided by clicking the dropdown arrow.
- Market Name: Click the dropdown arrow to choose from the Market Names provided.
- Transaction Type: Click the dropdown arrow to choose from the transaction types listed. Based on the type you choose the next field would be either “Buy” or “Spend” unit.
- Unit: This can say either “Buy” or “Spend” unit. Click the dropdown arrow to choose a unit from the list provided.
- Buy/Spend: Click in the box to indicate the number that you need to buy or spend before getting the free amount.
- Free Unit: Click the dropdown arrow to choose a unit measurement from the list provided.
- Free Quantity: Click in the textbox to provide the quantity amount that you are getting for free.
- Valid From: Provide a date in the long date format or click the calendar icon to choose the start date for this free deal.
- Valid To: Provide a date in the long date format or click the calendar icon to choose the end date for this free deal.
- Click add to add any free deals that your vendor offers. This will open up a popup menu.
- Interface
- Email: Click this box if the method of communication to purchase inventory is through email. (NOTE: clicking this field will make the email information mandatory later).
- Vendor Portal: Click this box if the method of communication to purchase inventory is through an online portal. (NOTE: clicking this field will make the portal username and password information mandatory later).
- Electronic: Click this box if the method of communication to purchase inventory is through a website. (NOTE: clicking this field will make the website information mandatory later).
- Username: Provide the username for the portal.
- Password: Provide the password for the portal.
- Interface Vendor Code: Provide the vendor code needed to login.
- Email: Provide the email to purchase inventory.
- FTP URL: Provide the URL where users can go to purchase inventory from the vendor.
- Primary
Click the Save button.
Modify Vendor
- Click on the pencil icon next to the Vendor that you would like to modify
 .
. - You may make changes to any of the fields regardless of whether the Vendor is currently referenced throughout the system.
Change Status Of Vendor
- If you would like to change the status of an existing Vendor to Active, Inactive or Prospect, you will first need to look at the “Change Status” column where you will find either a grey, yellow, or green shaded circle.
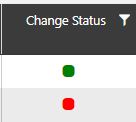

Click on the circle to either activate or deactivate the Vendor. (NOTE: If the Vendor is already mapped in the system, you cannot deactivate Vendor until you unmap it everywhere in your system. If this kind of modification is needed you may need to reach out to technical services to discuss the situation and they can direct you further).
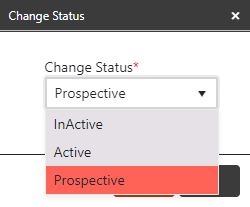
You will be presented with a menu where you will see a field called “Change”, click the dropdown arrow to see a list of either “Active” “Inactive” or “Prospective”. Choose from the list provided.
Click yes to save your changes.